Setting Up and Running ML Applications on the Nimbix Cloud
The Xilinx Alveo U50 accelerator card provides a compact, yet powerful, platform to boost performance of a range of different applications. When paired with the Vitis-AI development environment it provides acceleration for the inference of convolutional neural networks.
Nimbix, a Xilinx partner, provides access to the Alveo U50 and Vitis-AI on a pay-per-use basis that allows users to run ML applications in the Cloud as opposed to investing time and resources in creating on-premise servers. This article will demonstrate how to get up and running with this service:
- If you don’t already have an account, you will need to contact Nimbix directly. When you have your username and password, log on to the JARVICE platform: https://xilinx-cloud.jarvice.com
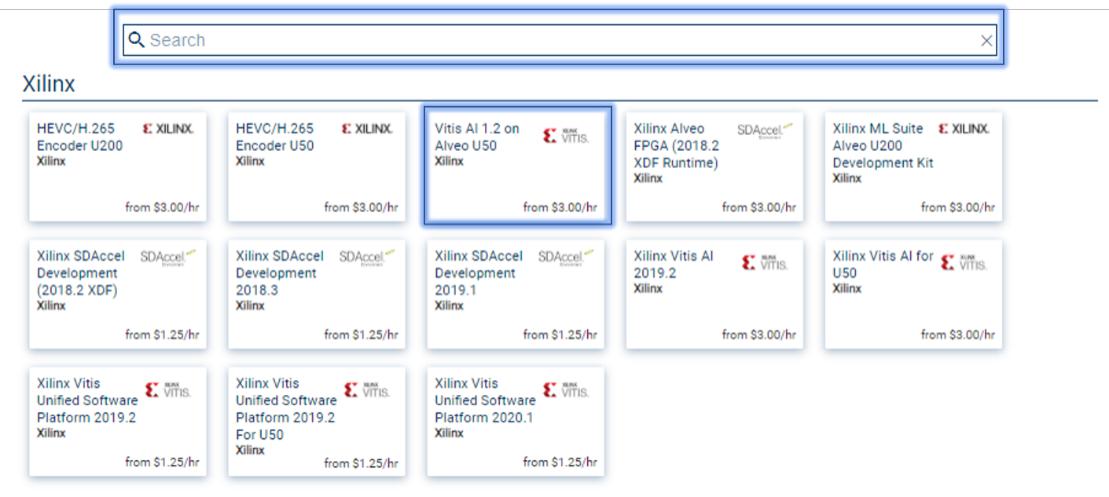
- Select ‘Xilinx Vitis AI 1.2 on U50’ – if necessary, use the Search box.
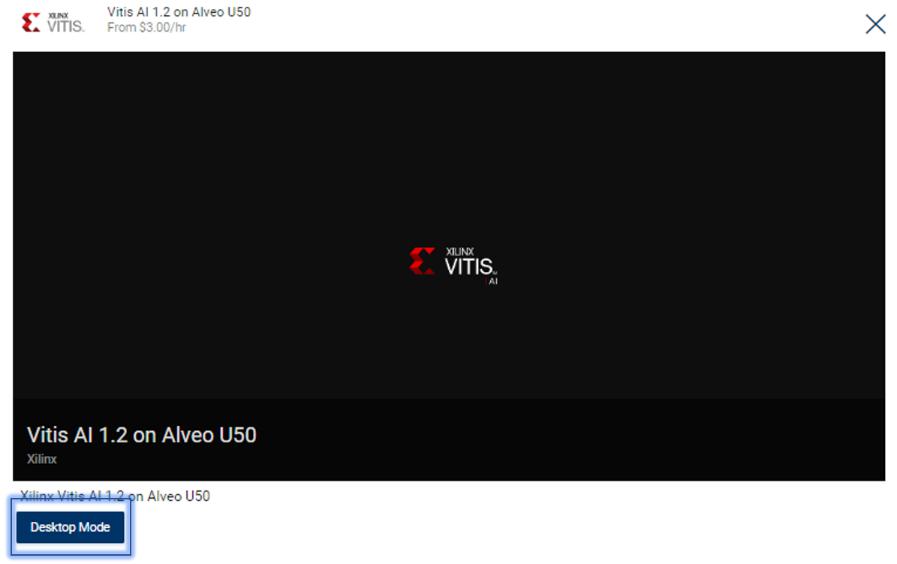
3. Click on the ‘Desktop Mode’ button in the bottom-left corner of the next screen:
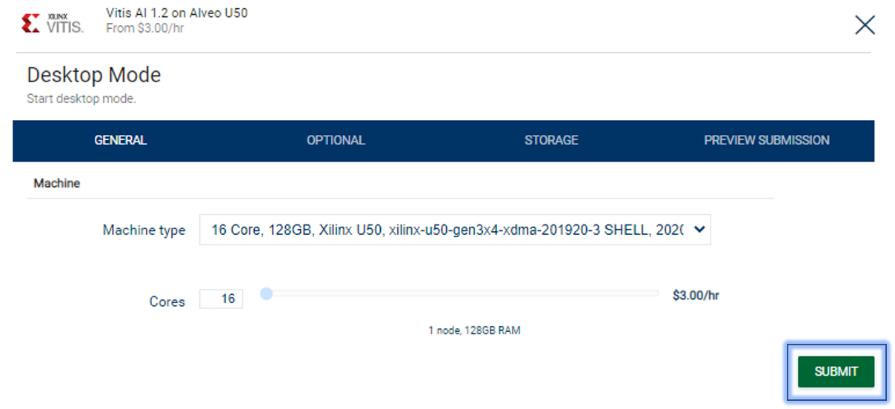
4. Click on the ‘SUBMIT’ button in the bottom right corner of the next screen:
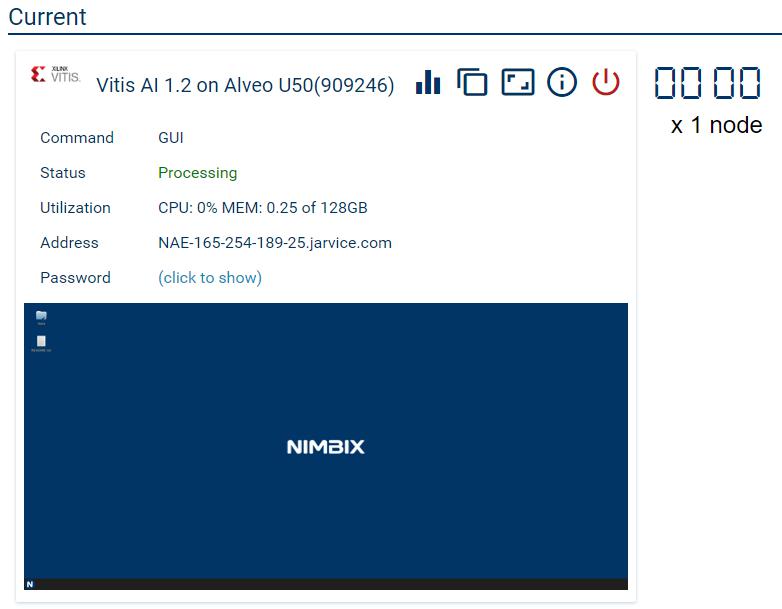
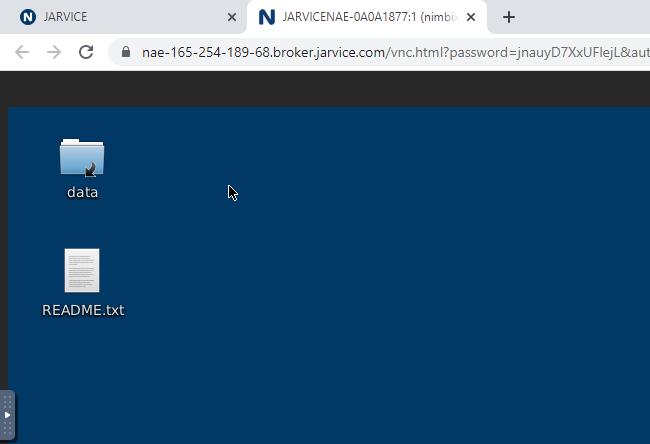
5. Wait until the desktop thumbnail image is visible (might take a few seconds) and then click anywhere inside the desktop thumbnail image to open it in a separate browser tab…On the Nimbix desktop, you should see a folder called ‘data’ and a README.txt – you can ignore the README.txt and follow the instructions in this article.
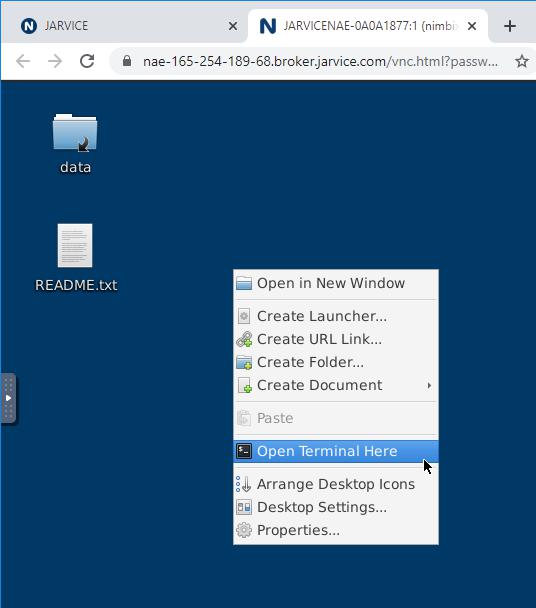
6. Open a terminal from the Nimbix desktop by right-clicking and selecting ‘Open Terminal Here’ from the context menu:
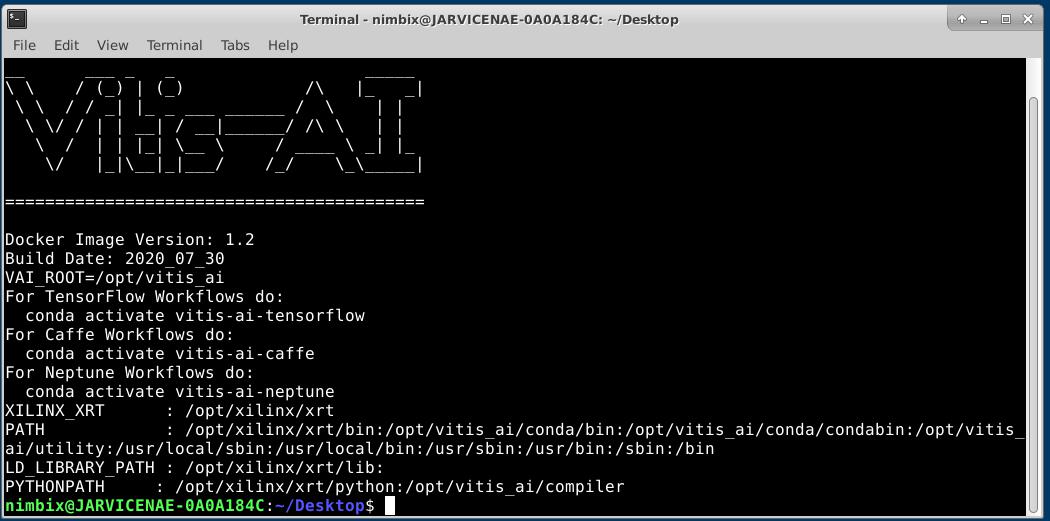
7. The terminal will open and you should see the Vitis-AI banner - this indicates that we are already in the Vitis-AI CPU Docker container:
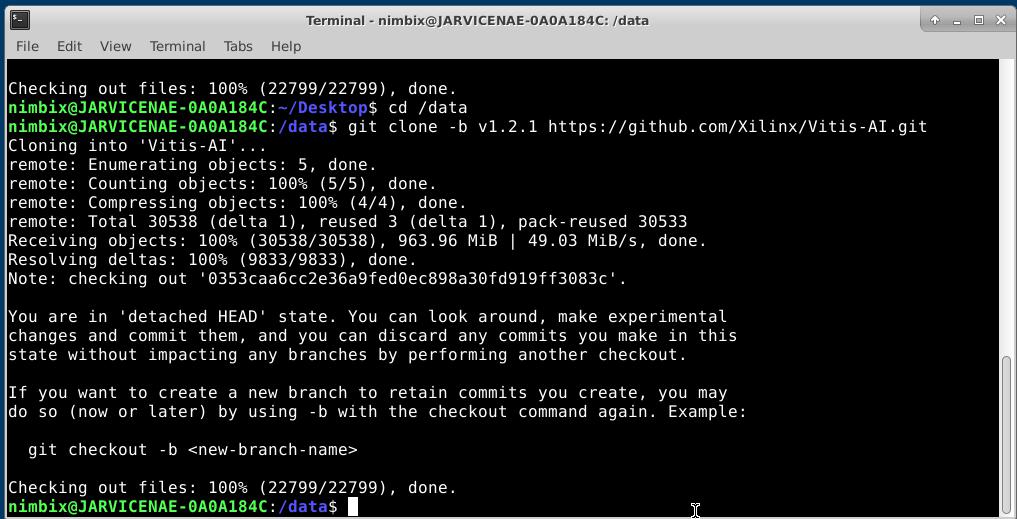
8. Now we need to clone the Vitis-AI repository. As of time of writing (August 2020) Nimbix supported Vitis-AI version 1.2.x so we must be sure to clone the correct tag. In the terminal, enter the following commands:
    $ cd /data
$ git clone -b v1.2.1 https://github.com/Xilinx/Vitis-AI.git
Note that ‘data’ is your personal data folder and all contents will be kept even if you log out of the session.
9. Now we are ready to run some examples that are supplied with the Vitis-AI repository. We can run the resnet50 image classification example like this:
    $ cd /data
$ wget https://www.xilinx.com/bin/public/openDownload?filename=vitis_ai_runtime_r1.2.0_image_video.tar.gz -O vitis_ai_runtime_r1.2.0_image_video.tar.gz
$ tar -xzvf vitis_ai_runtime_r1.2.0_image_video.tar.gz -C Vitis-AI/VART
$ cd Vitis-AI/VART/samples/resnet50
$ bash –x build.sh
$ ./resnet50 model_dir_for_U50/resnet50.xmodel
Tip: Add all the commands from steps 8 and 9 into shell script files so that they can easily be called when required.
If everything has gone smoothly, you should see something like this:
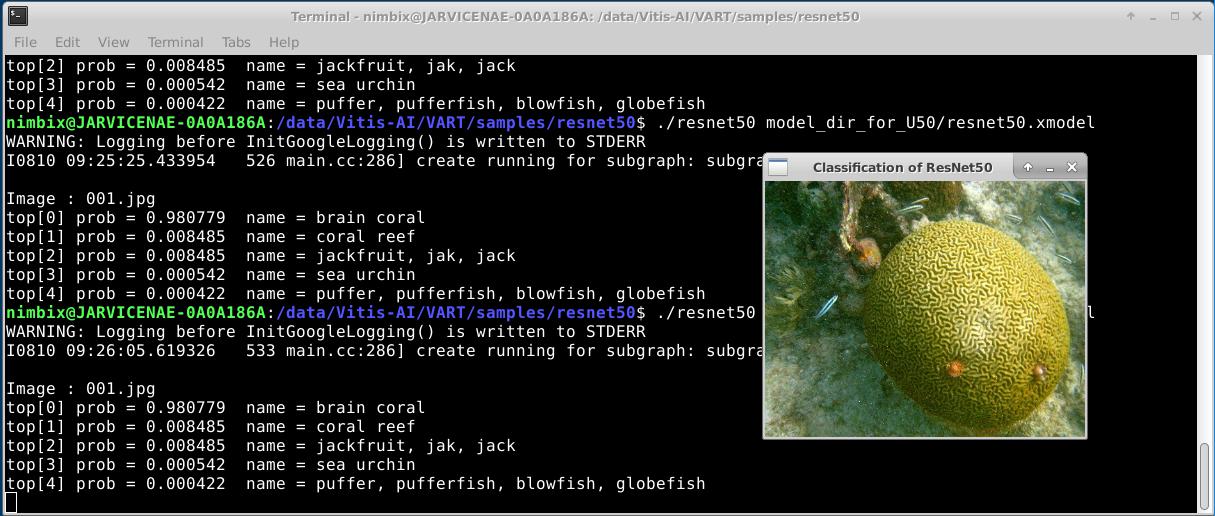
Congratulations, you have successfully set up the Alveo U50 on the Nimbix Cloud service and run your first ML application!
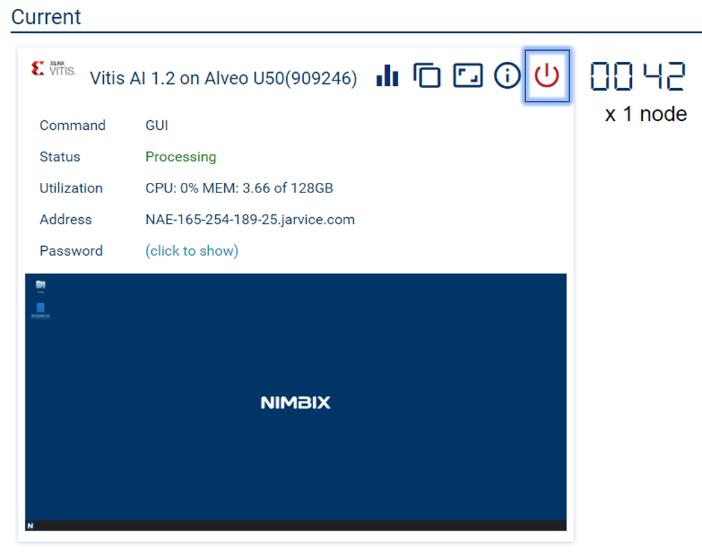
Finally, don’t forget to terminate the session by clicking on the ‘power off’ button on your JARVICE dashboard:
Conclusion
This article demonstrated how easy it is to run your first machine learning application on the Alveo U50 card which is hosted on Nimbix’s Cloud Computing service. The same flow can be used with any custom application.

About Mark Harvey
Mark Harvey is a currently serving as an AI/ML Specialist for EMEA and is based at Xilinx’s Milan, Italy office. He has worked with Xilinx since 2003 and previously filled the role of Field Applications Engineer covering multiple applications and markets. He has been involved in programmable logic design and development for more than 25 years.


